Tutorial · Musical Learning
The punteru: first notes step by step, on video
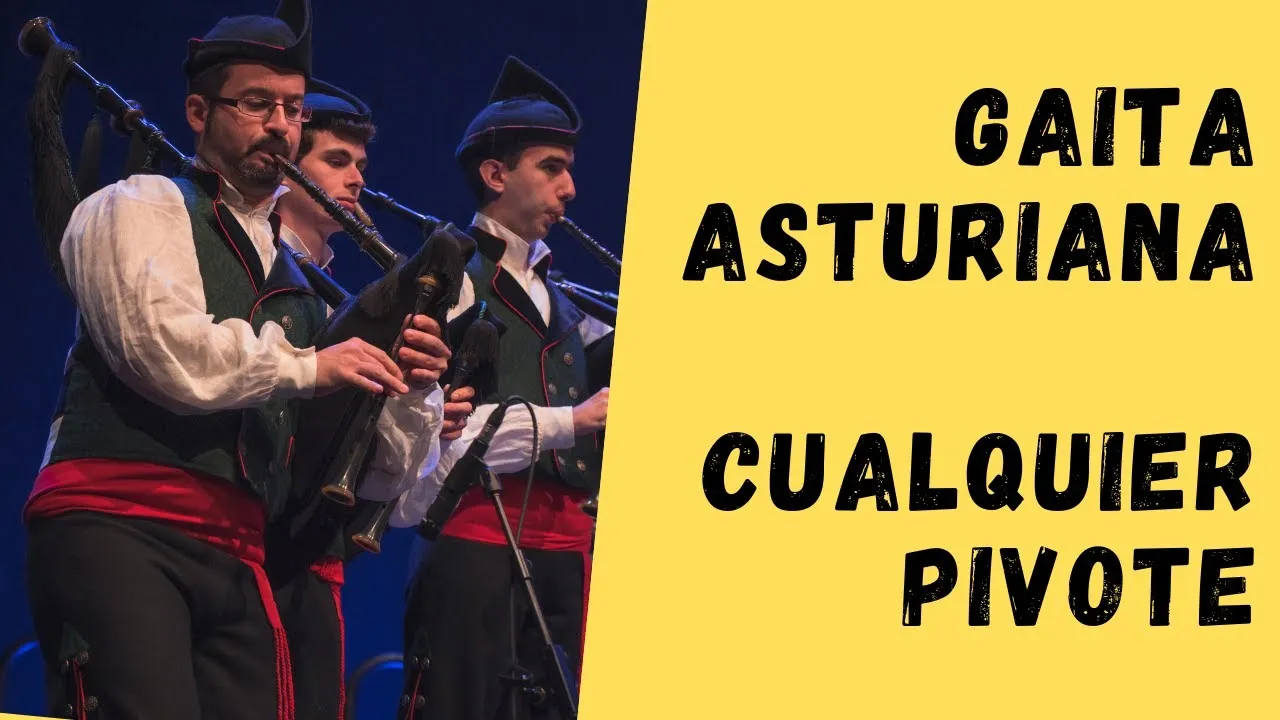
The punteru of the Asturian gaita and your first notes, step by step and on video: posture, scale and fingering through my series «Your first songs», which teaches the notes by playing real pieces from C to B.
The punteru is the melodic pipe of the Asturian gaita: the one with the finger holes, where the music is made. Your first notes come out by covering and uncovering those holes, and the fastest way to fix them isn’t to repeat the scale on its own, but to play very simple songs that add one note at a time. That’s exactly what I do in my video series, and here I leave it ordered and explained so you can follow it step by step.
This is the natural sequel to how to start playing the Asturian gaita: if you already have the punteru in your hand, here comes the practical part.
Before the first note: posture and sealing
Two things settle in now and stay with you forever, so it’s worth doing them well from the start:
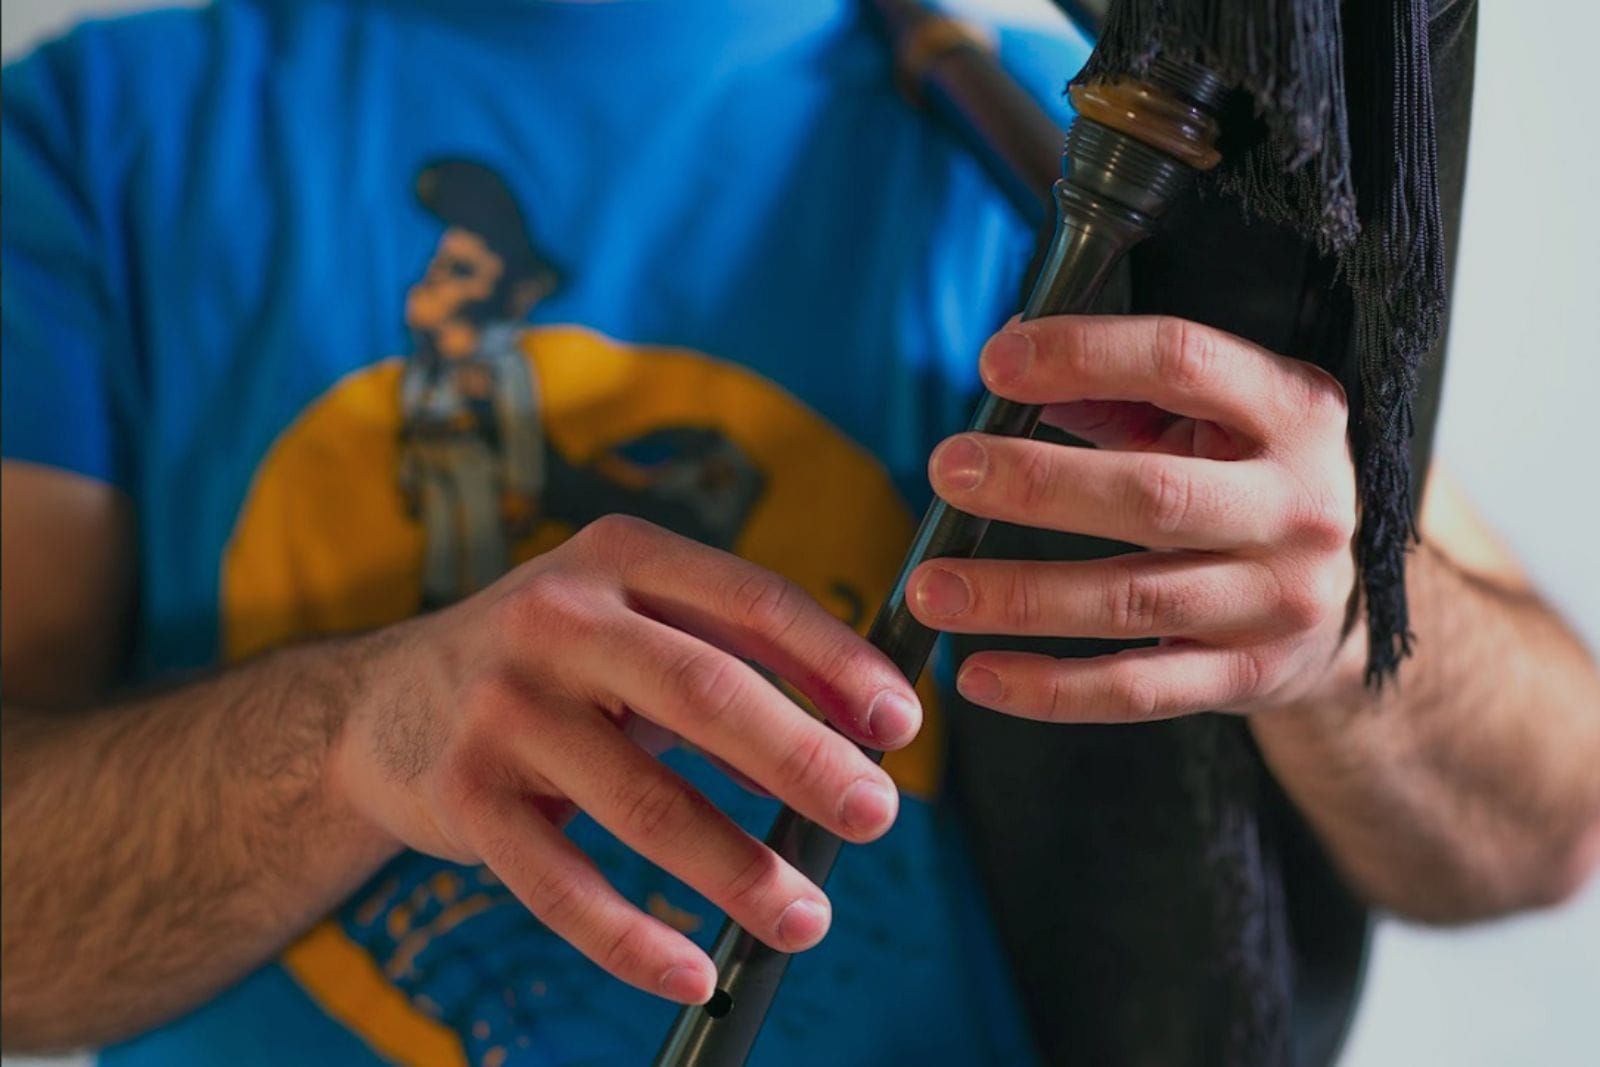
- Cover with the pad of the finger, flat. Not with the fingertip held upright. The pad covers the whole hole and seals better.
- Fingers curved and close to the punteru. The ones that aren’t covering stay a couple of millimetres away, ready. If you lift them too far, you arrive late to the next note.
- Movement from the knuckle, not from the whole hand. Each finger rises and falls on its own; the hand doesn’t jump.
- Zero force. You don’t need to press to seal, you need to cover well. Pressing only tires you out and stiffens the hand.
The dirty sound of a beginner is almost always a leak: a badly covered hole that lets air escape. Learning to feel the seal —not just to place the finger— is one of the first things that matters. A clean scale is worth more than ten dirty melodies.
The series: your first songs, note by note
Instead of dropping the whole scale on you at once, the series introduces one new note with each song. You play a real piece, you enjoy it, and along the way you fix one more fingering. By the time you reach the end you’ve covered the scale without doing a single day of “scale exercises”.
Here’s the full progression at a glance:
| # | What you learn | Piece |
|---|---|---|
| 1 | Notes from C to F | — (first notes) |
| 2 | First song | Marchina d’Entamu |
| 3 | Bedding in and pulse | En Oviedo No Me Caso |
| 4 | C pivot | — (technique) |
| 5 | Note A | Pericote |
| 6 | D pivot | — (technique) |
| 7 | Low note B | Chalaneru |
| 8 | E pivot | — (technique) |
| 9 | Note B | Polka Veneros |
| 10 | Pivot on any note | — (technique) |
Follow it in order: each video takes the previous one for granted.
1. The first notes: from C to F
We start with the low range of the punteru. There’s no song yet here: just settling the first four notes, posture and sealing, slow and clean.

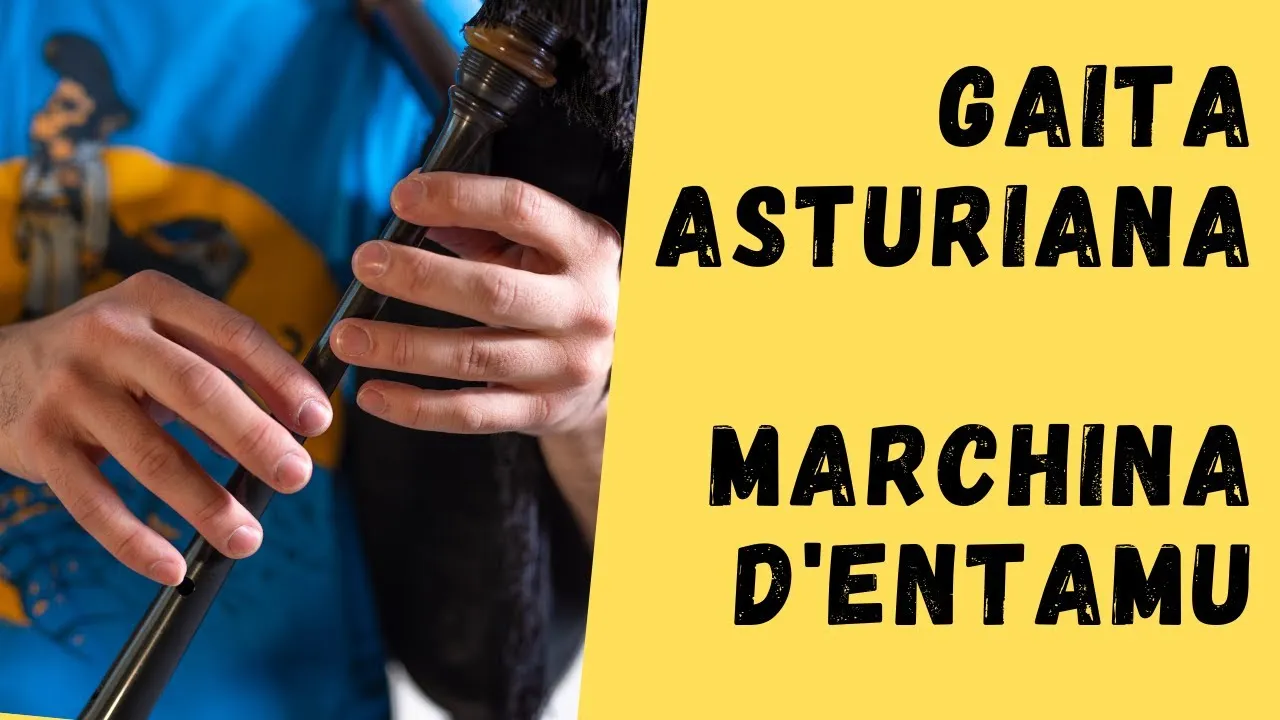
2. First song: «Marchina d’Entamu»
With those notes you can already play music. A simple marchina to open the repertoire without leaving the range you already control.
3. «En Oviedo No Me Caso»
A well-known piece that beds in what came before and starts loosening your hand with the pulse.

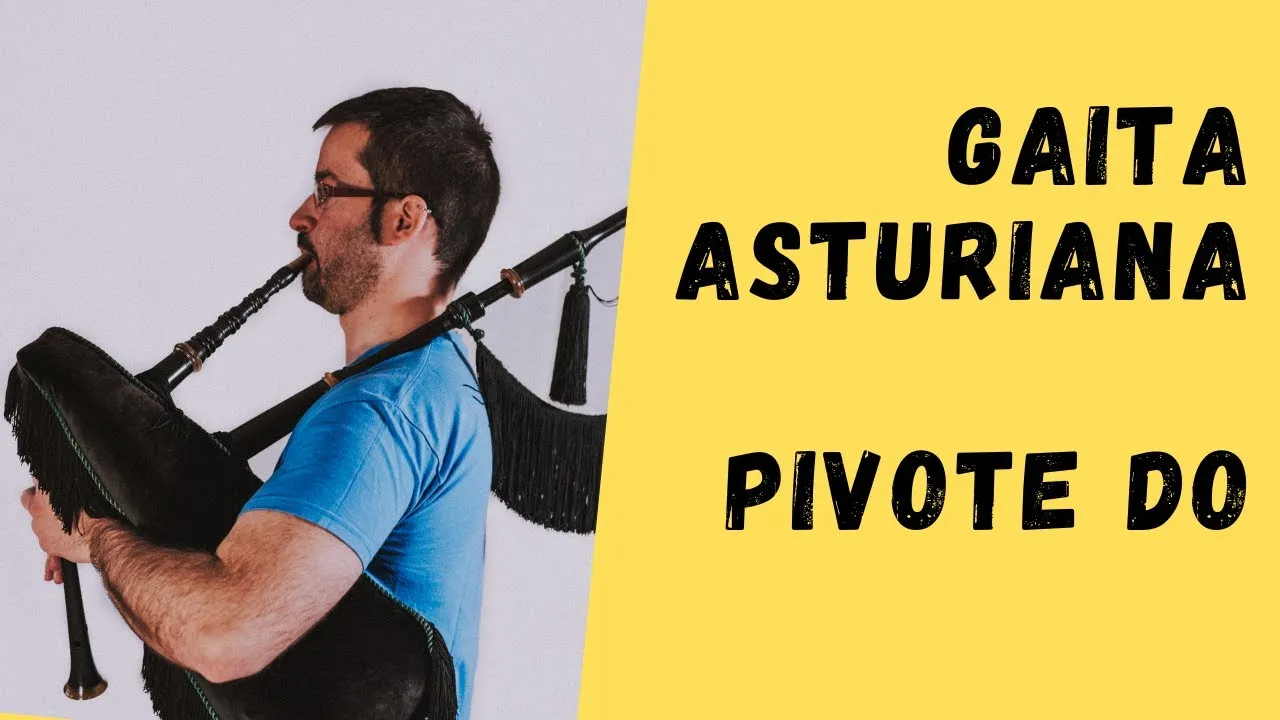
4. The C pivot
Here a key technique comes in: the pivot, the way of articulating and separating repeated notes that gives the gaita its characteristic phrasing. We work it first on the note C.
5. «Pericote» + the note A
We add the note A and introduce it with a pericote. Now you leave the opening range and start using the high register.

6. The D pivot
The same pivot device, now on D. Every note has its pivot, and mastering them is what makes a melody sound articulated rather than rushed.

7. «Chalaneru» + the low note B
We go down for the low note B, one of the hardest to seal well, with the chalaneru as the excuse to practise it.

8. The E pivot
One more pivot, on E. By this point the gesture already feels familiar, and it’s about extending it across the whole scale.

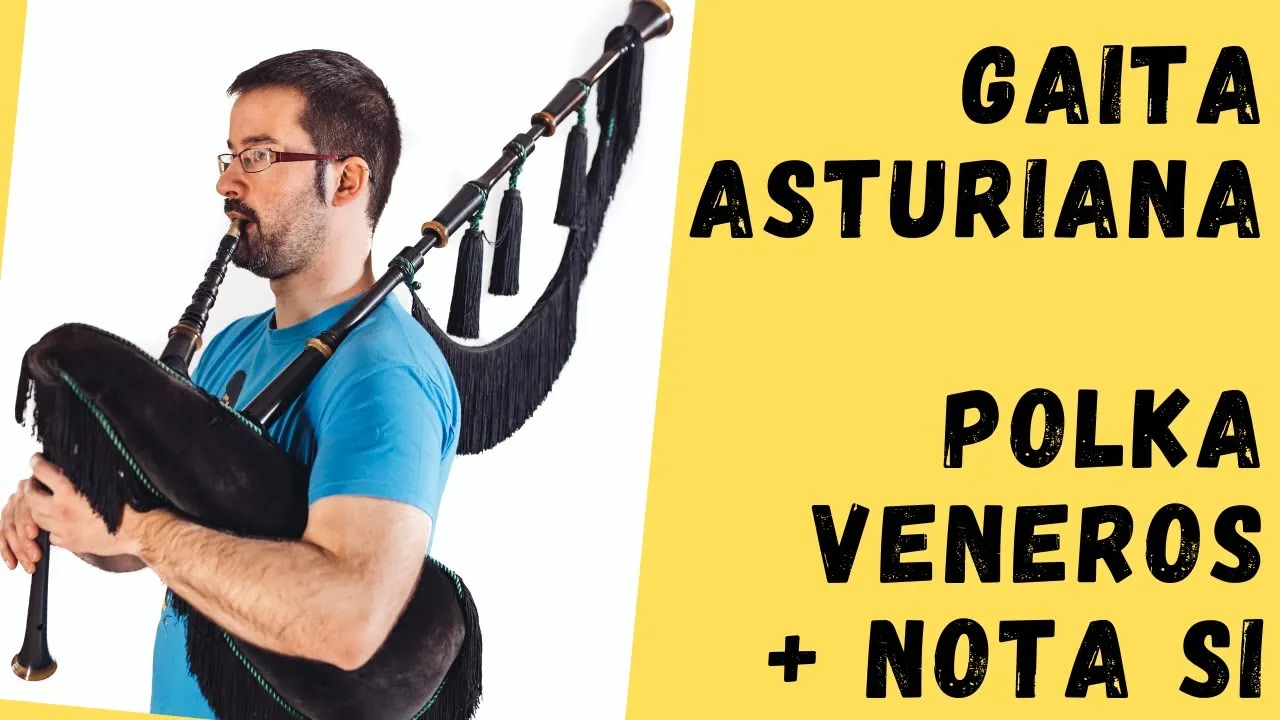
9. «Polka Veneros» + the note B
We close the notes with the high B, introduced with a polka. With this you’ve now covered the whole scale through songs.
10. Any pivot
The last video generalises: once you understand the mechanics of the pivot, you apply it to any note on the punteru. It’s the tool that lets you play the repertoire with its own phrasing.
How to get the most out of the series
- One song per session, not ten in an afternoon. Each new note needs to settle before the next.
- Replay the video as many times as it takes. It isn’t a class you watch once: it’s a script to practise alongside.
- Don’t rush the pivots. They’re what separate someone who “gets the notes out” from someone who plays. Go back to videos 4, 6, 8 and 10 often.
- Don’t worry yet about your gaita’s key. First the mechanics: fingers, sealing, scale. The rest comes later.
The golden rule
Slow and clean before fast and dirty. Speed comes on its own once the fingering has settled; posture habits, on the other hand, take months to undo. Every minute you put in now into sealing well and moving the finger little, the instrument gives back to you later on.
When you finish the series you’ll have the scale, the pivots and a handful of real pieces in your hand. From there, the next step is the repertoire: where to go next is something I cover in traditional Asturian repertoire: where to start.
Frequently asked questions
-
How do you cover the punteru holes correctly?
With the pad of the finger, flat — not with the fingertip held vertical — because the pad covers the hole completely and seals it better.
Keep your fingers curved and close to the punteru: the fingers that aren’t covering a hole stay a couple of millimetres away, ready for the next note. The movement comes from the knuckle, not from the whole hand.
And you don’t need force. Pressing harder doesn’t seal better — it just tires your hands and causes stiffness. A clean seal is about coverage, not pressure.
I work through the first notes and this technique step by step in The punteru: your first notes.
-
What is the pivote on the Asturian gaita?
The pivote is a technique exercise I came up with, taking the name from basketball: just like a basketball player keeps one foot planted and pivots around it, here you choose a reference note — the “pivot note” — and systematically alternate it against every other note on the scale.
The goal is twofold: building finger independence and fixing the muscle memory of each hand position. The aim is for the gaitero not to have to think about which finger goes where — for the hand to know by itself. You work note by note: first the pivote on C (C against D, C against E, C against F, and so on through the scale), then the pivote on D, on E, and gradually you cover the entire punteru map.